Spring Program using Annotations Based Configuration
Steps to Create Spring Program using Annotation Based Configuration
- Open any IDE & Create New Project
- Add Spring Jar Files (or Dependencies if using MAVEN)
- Create POJO Class i.e. Student and Annotate the POJO with "@Component" Annotation
- Create Main Class, annotate it with @Configuration & @ComponentScan AND then start the Container & Access the Beans
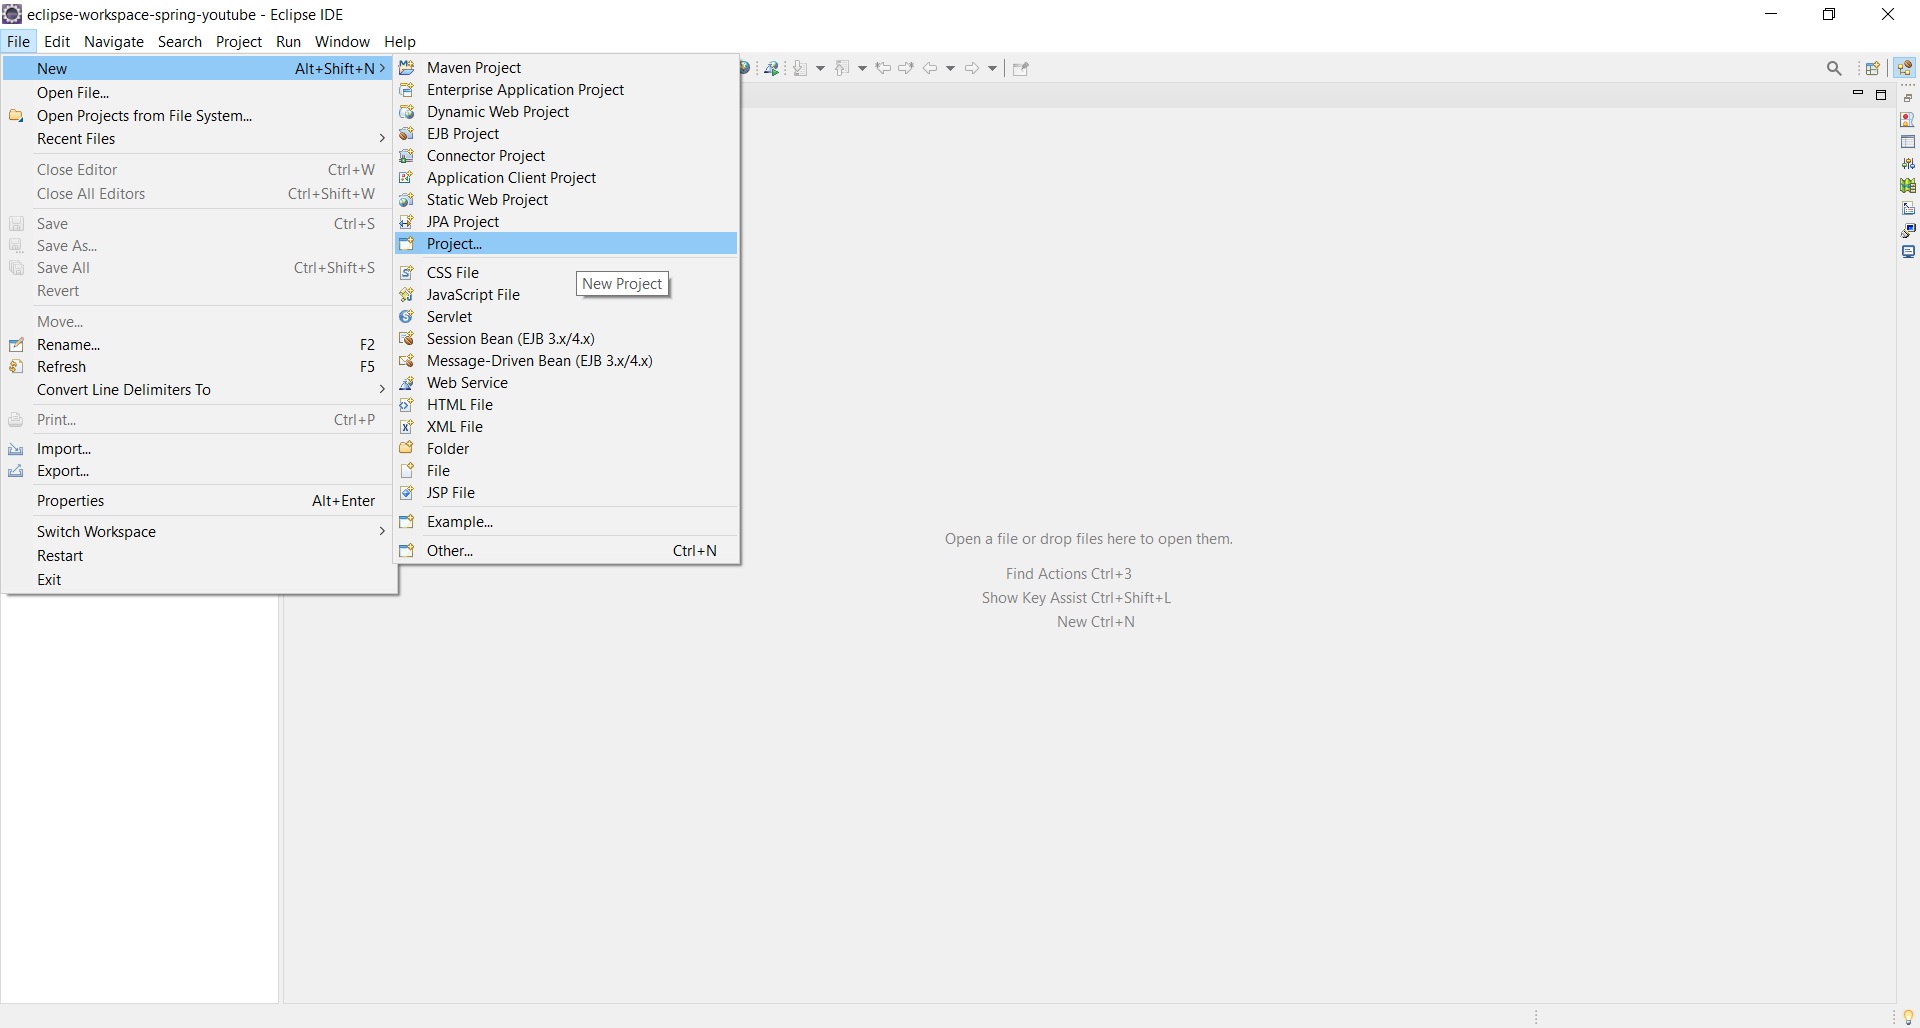
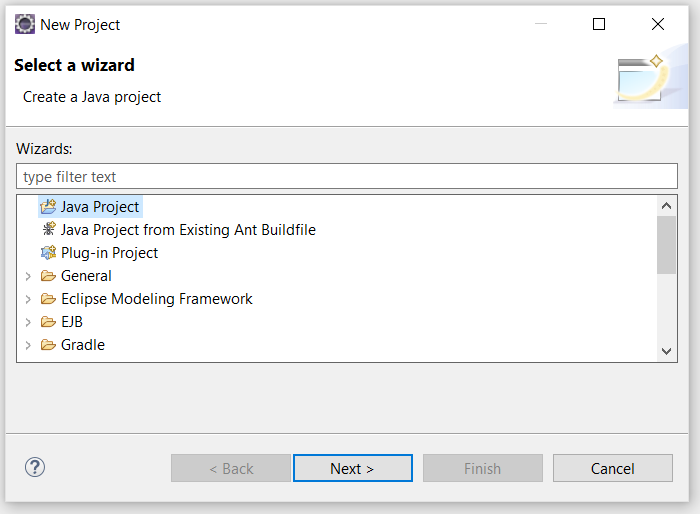
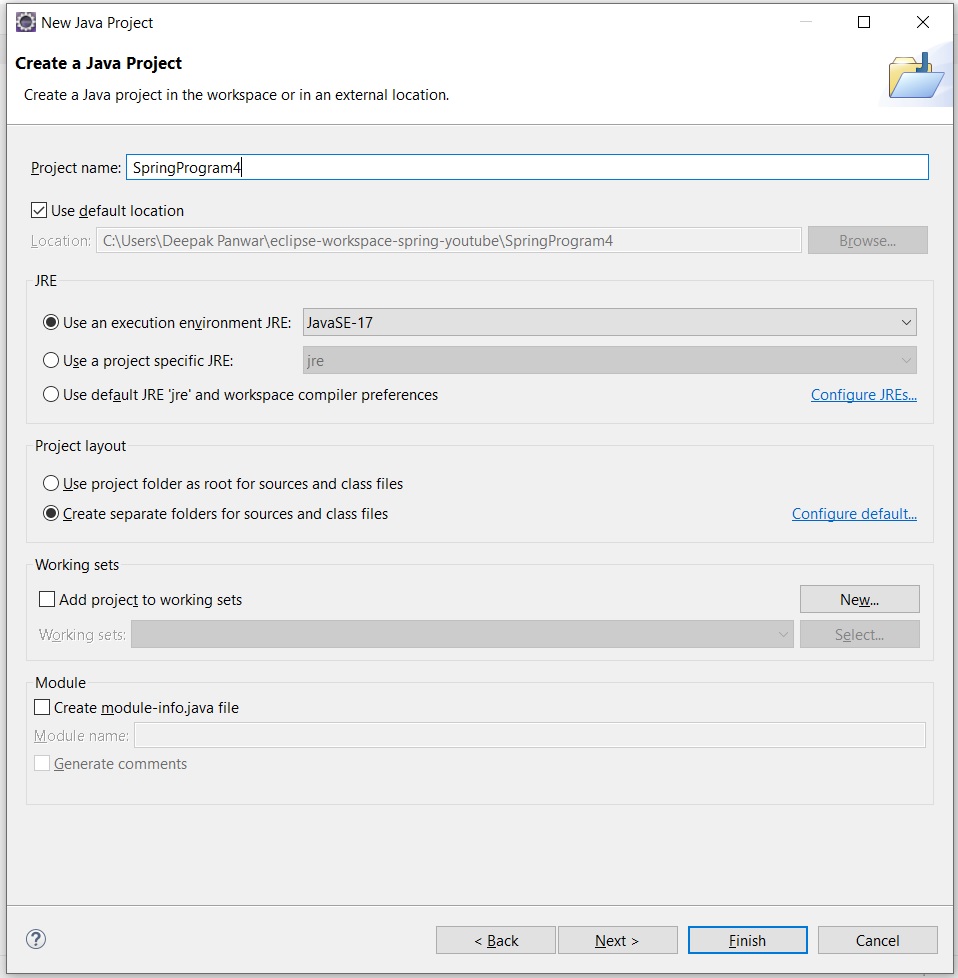
1. Open any IDE & Create New Project
- Open any IDE like Eclipse, IntelliJ, Spring Tool Suit (STS) etc and create new project as shown below.
- Note : In our case we are using Eclipse IDE.
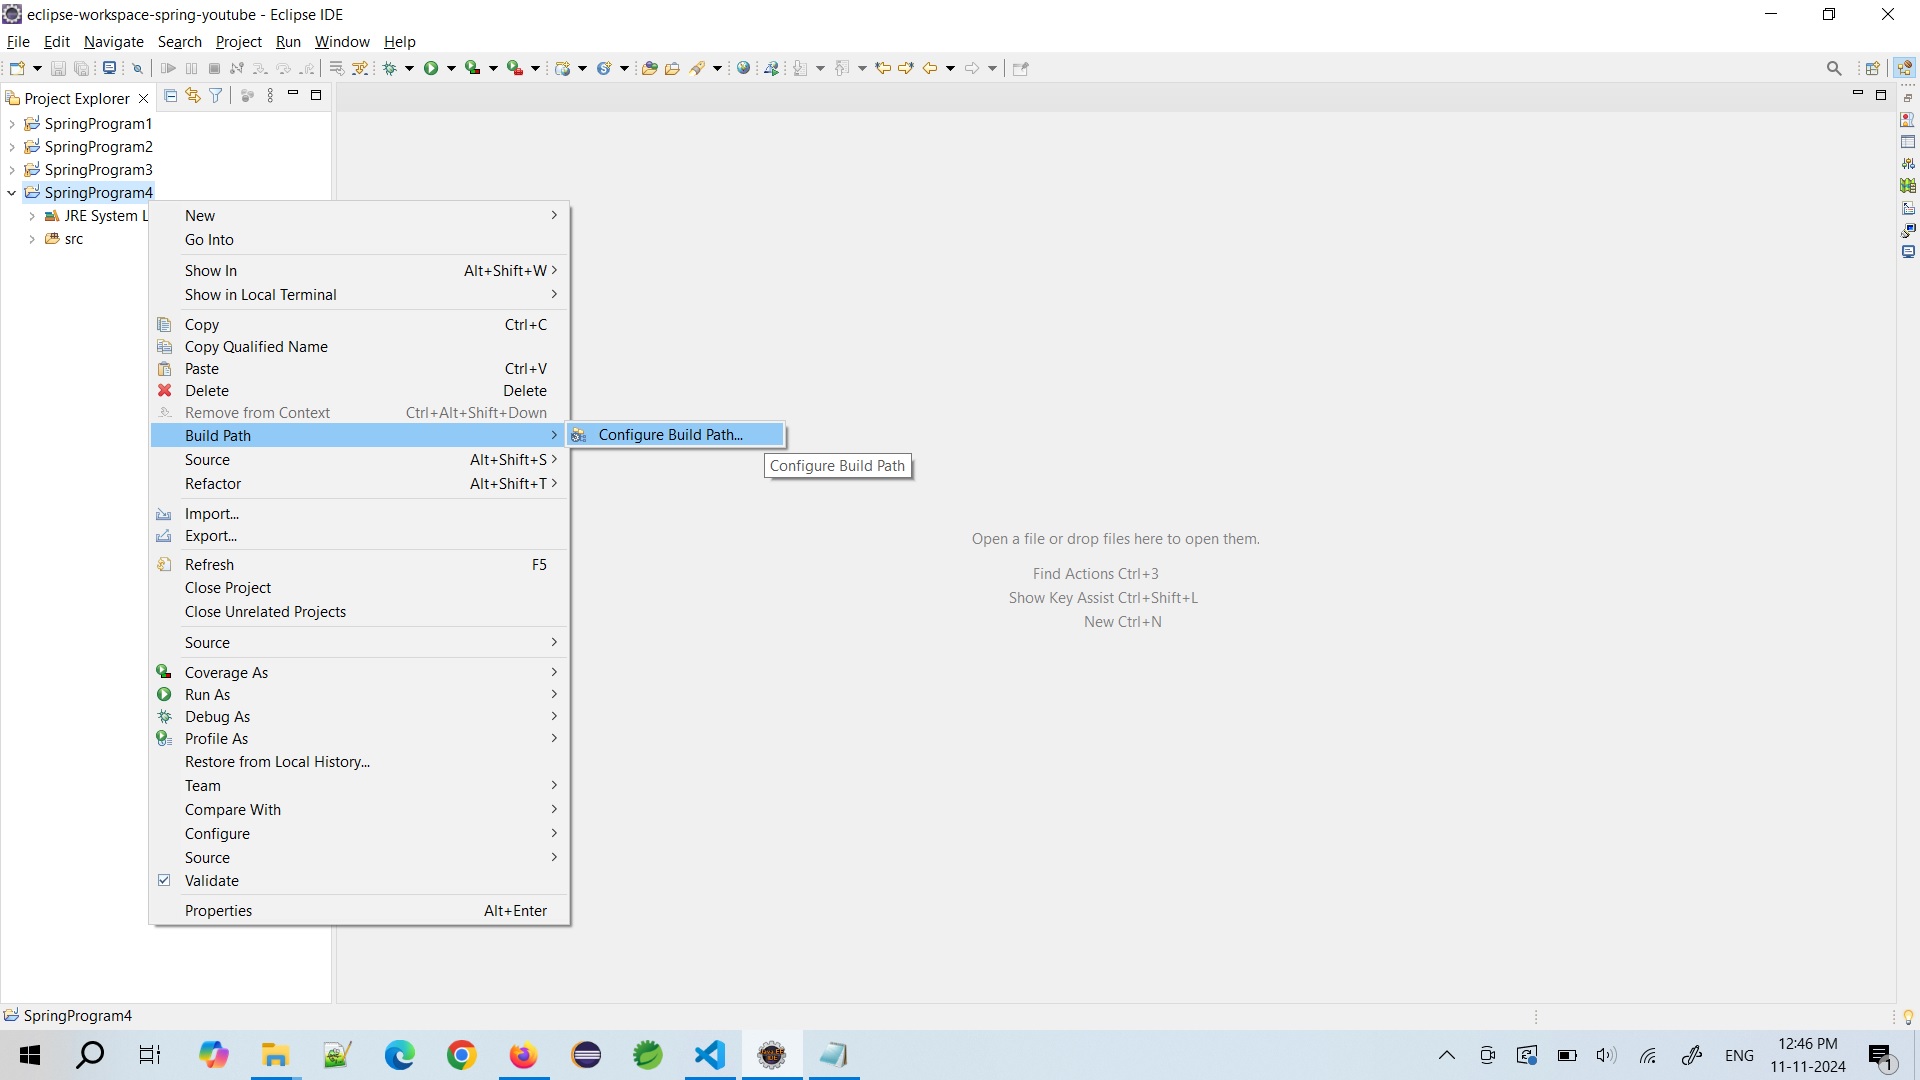
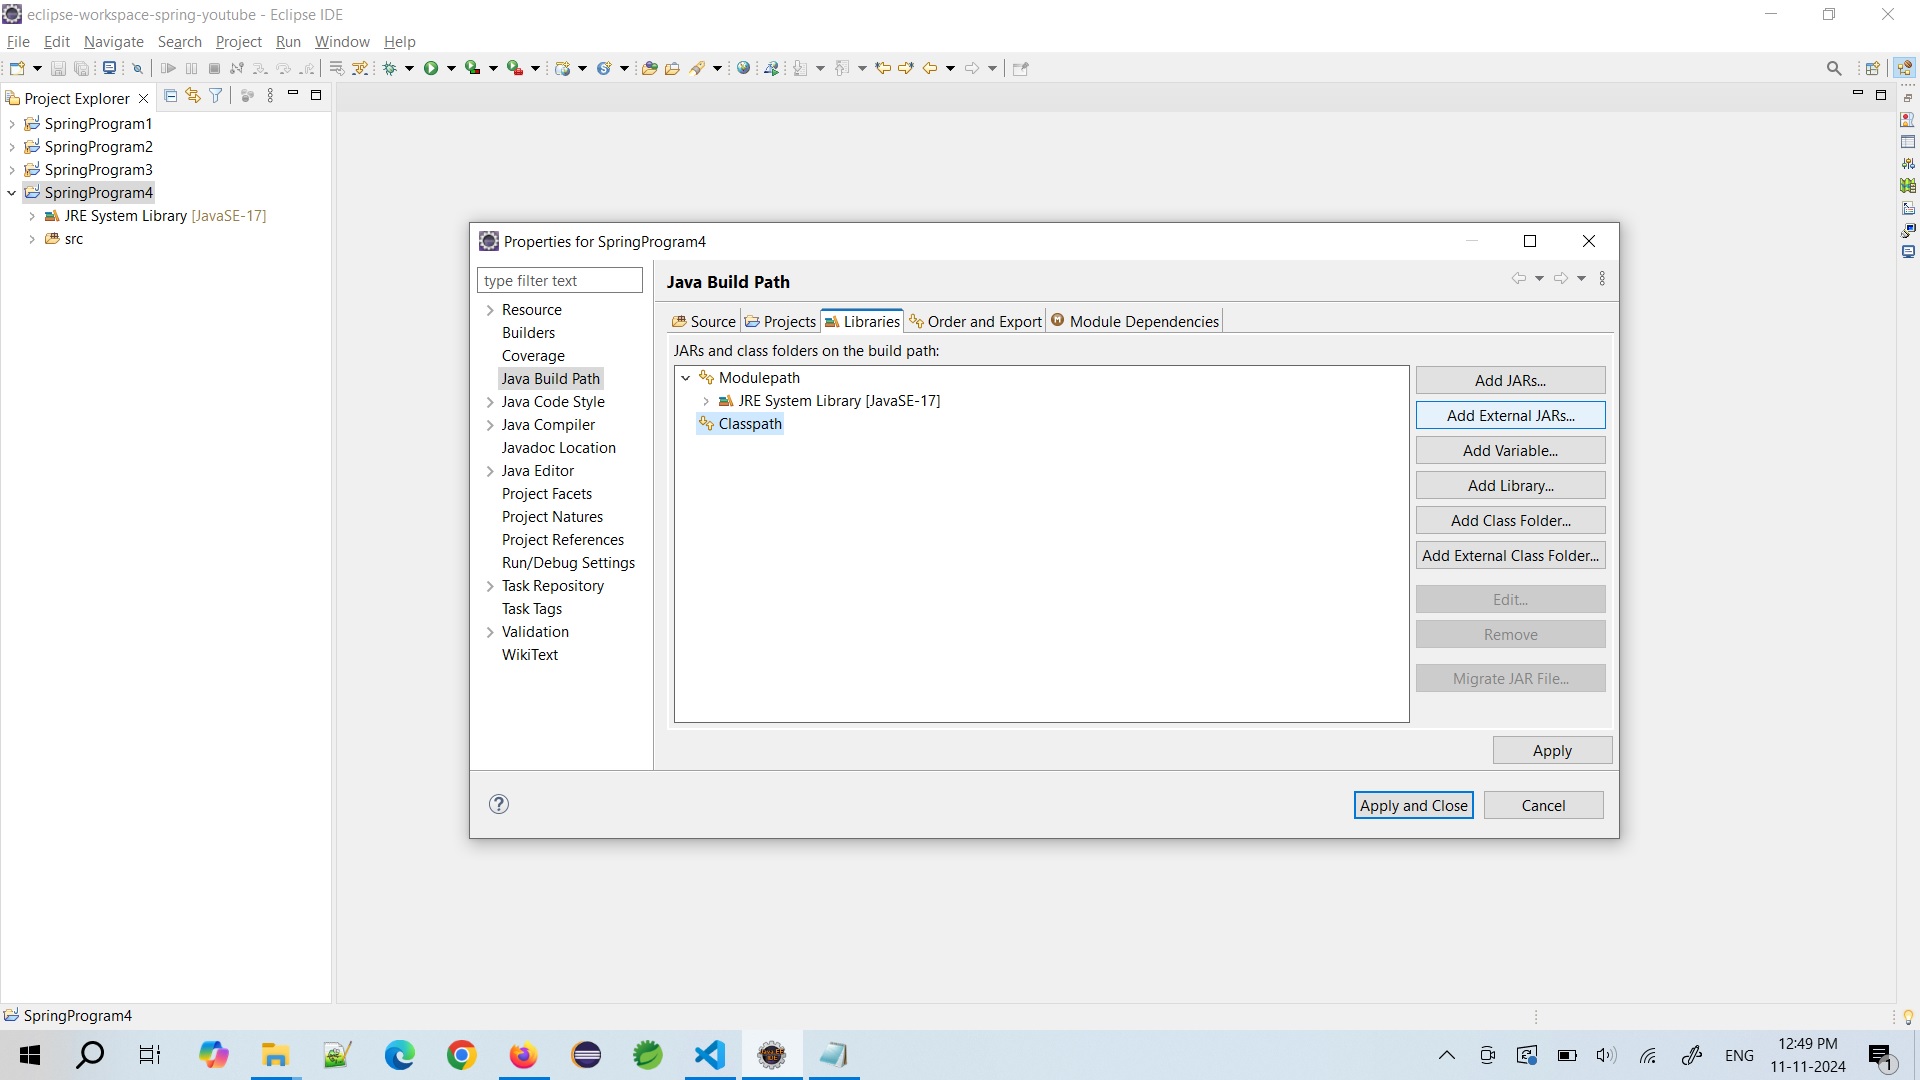
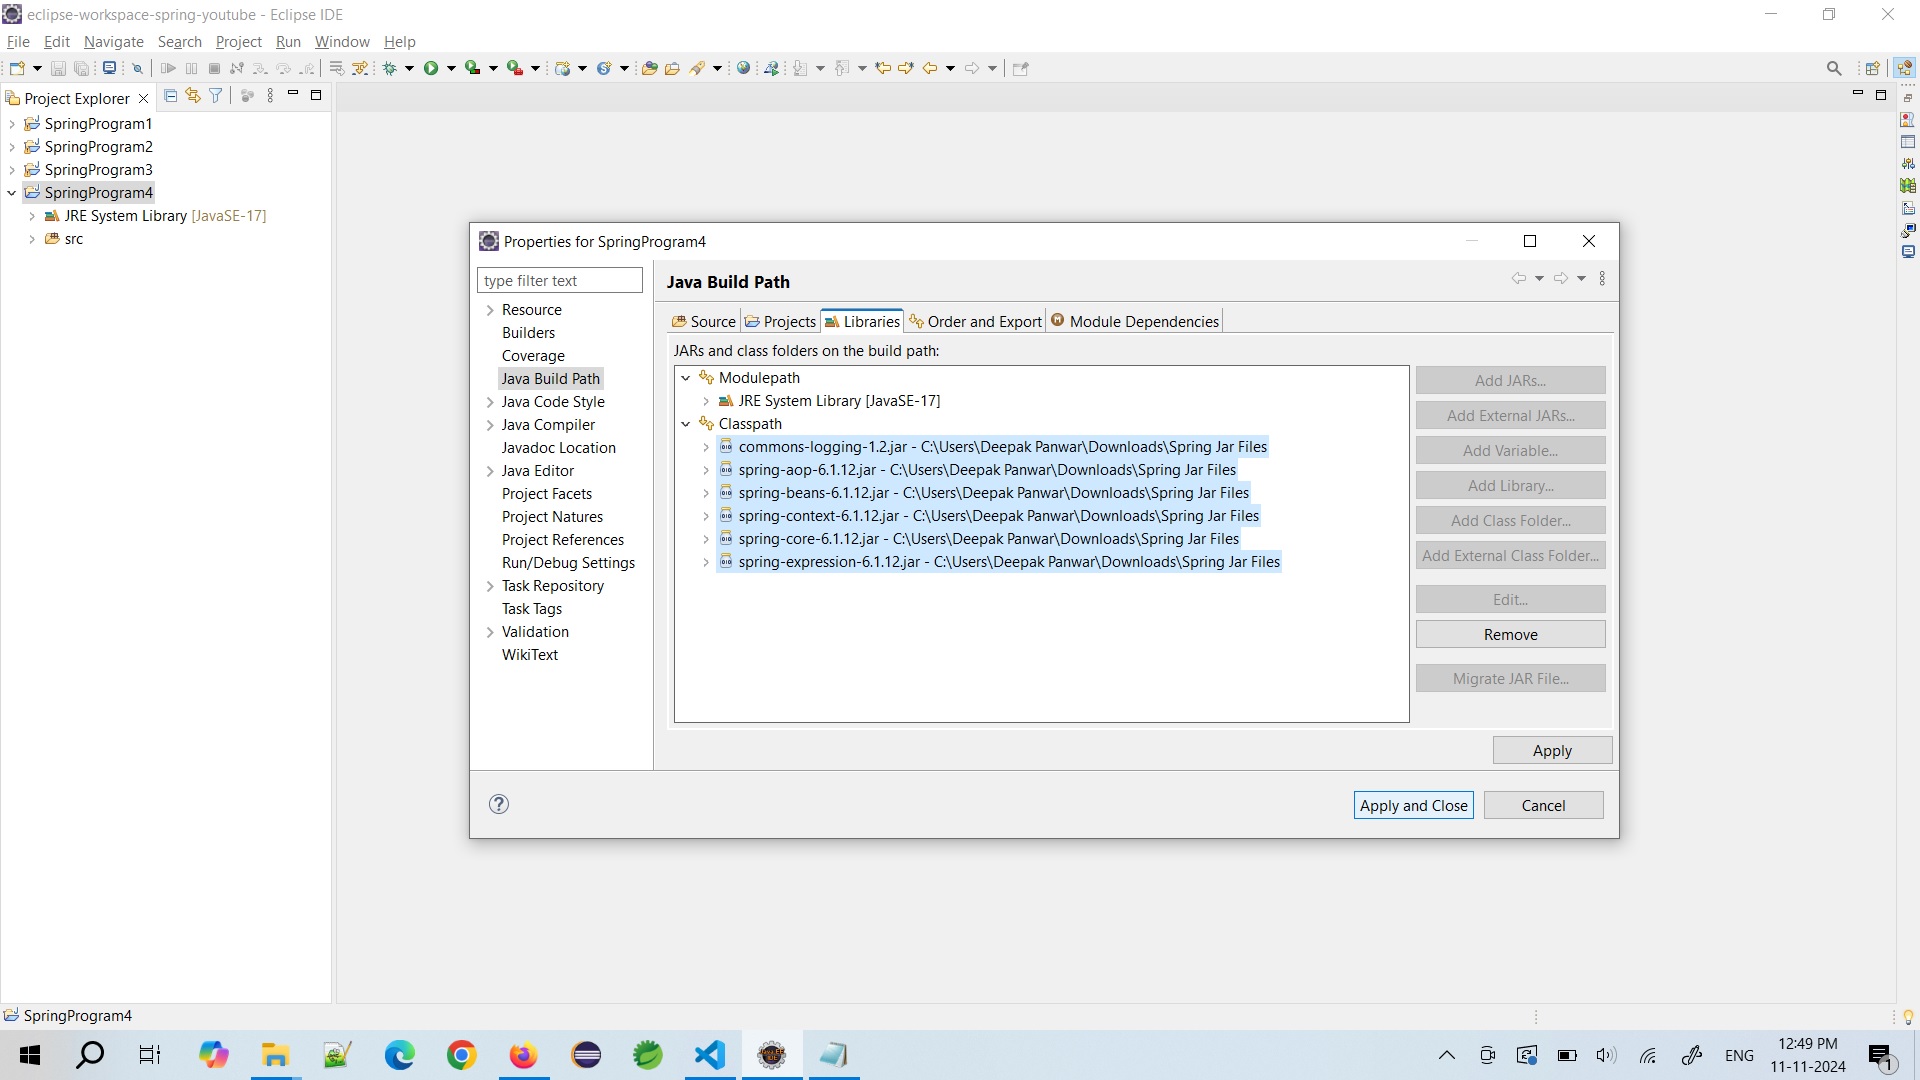
2. Add Spring Jar Files (or Dependencies if using MAVEN)
- Add Spring Jar Files (If you are creating simple Java Project) OR Add Spring Dependency (If you are creating MAVEN Project)
- Note : Here we are taken simple Java Project, MAVEN will be explained in further tutorials.
-
Required Jar Files are as below
- spring-core-x.x.x.jar
- spring-beans-x.x.x.jar
- spring-context-x.x.x.jar
- spring-expression-x.x.x.jar
- spring-aop-x.x.x.jar
- commons-logging-x.x.jar
3. Create POJO Class i.e. Student and Annotate the POJO with "@Component" Annotation
- Create one POJO class i.e. "Student" in package "in.sp.beans" and create one display() method to print Student details.
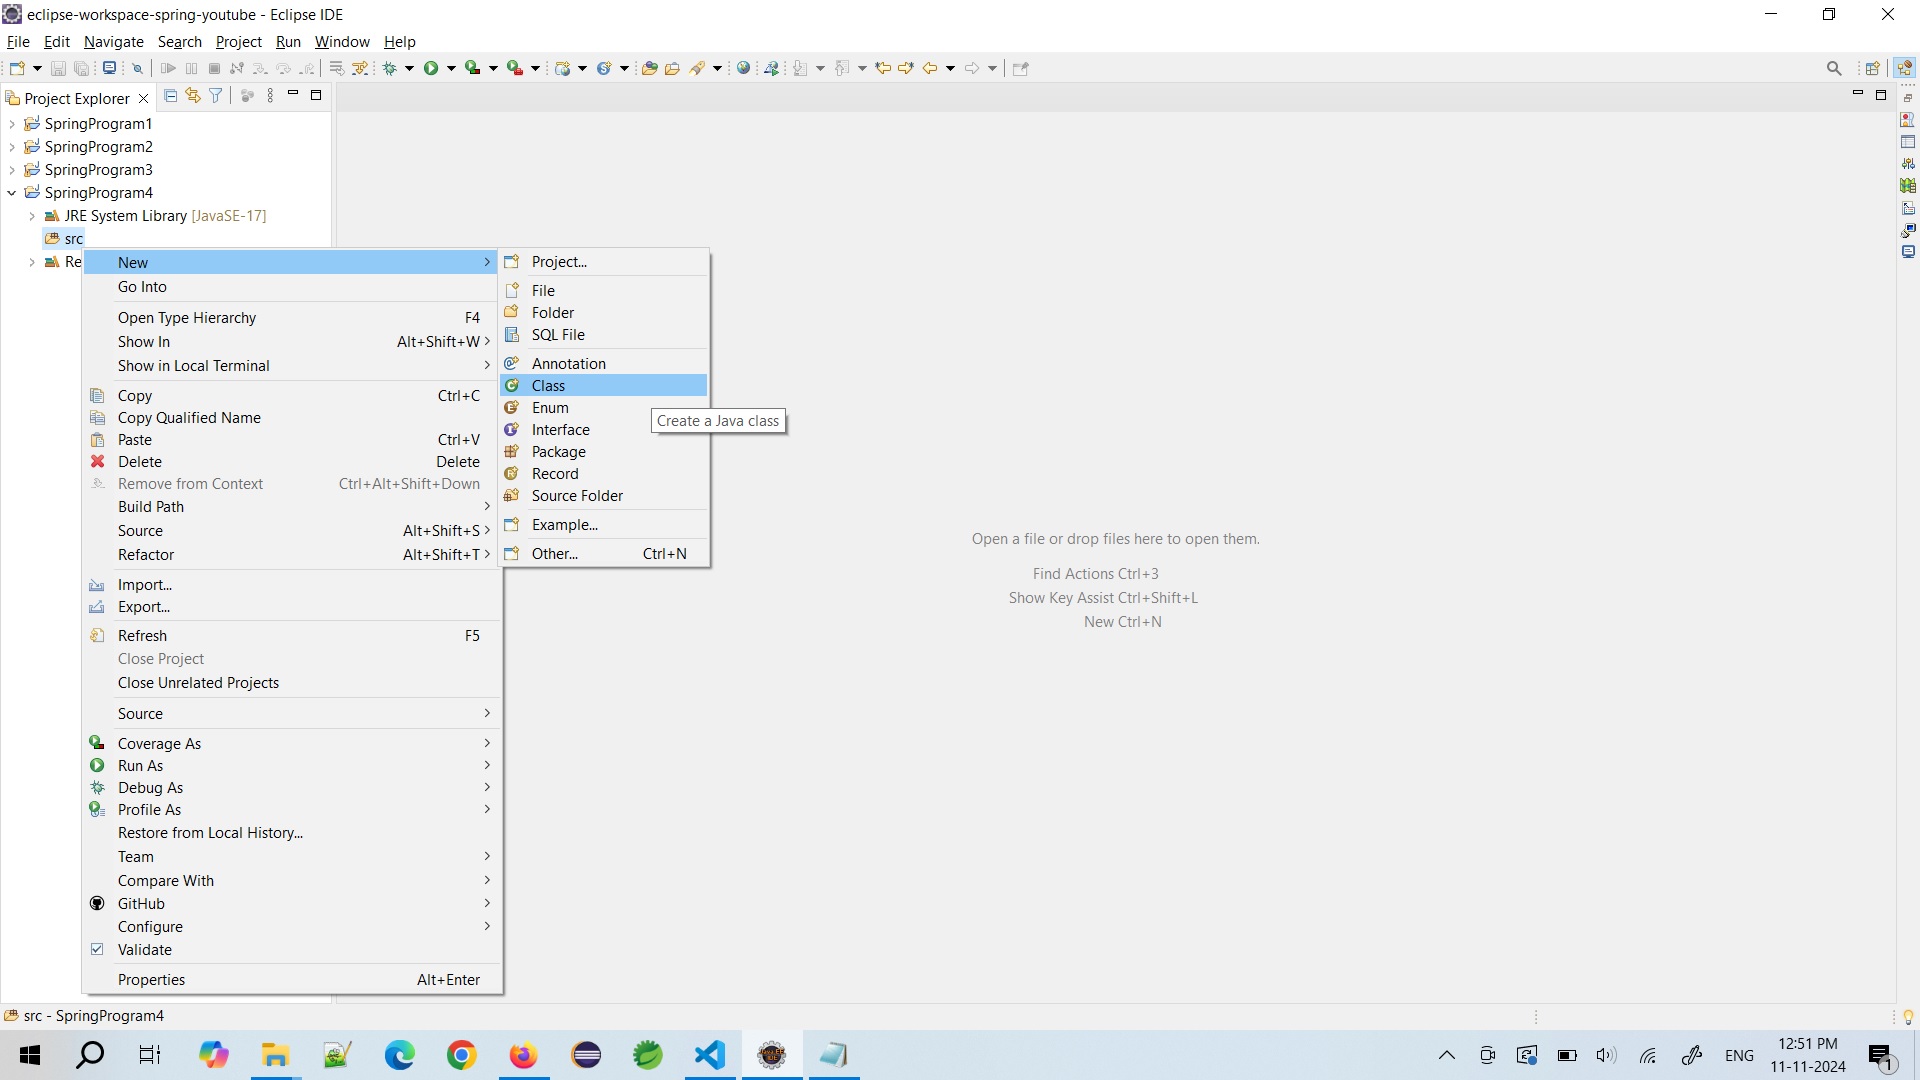
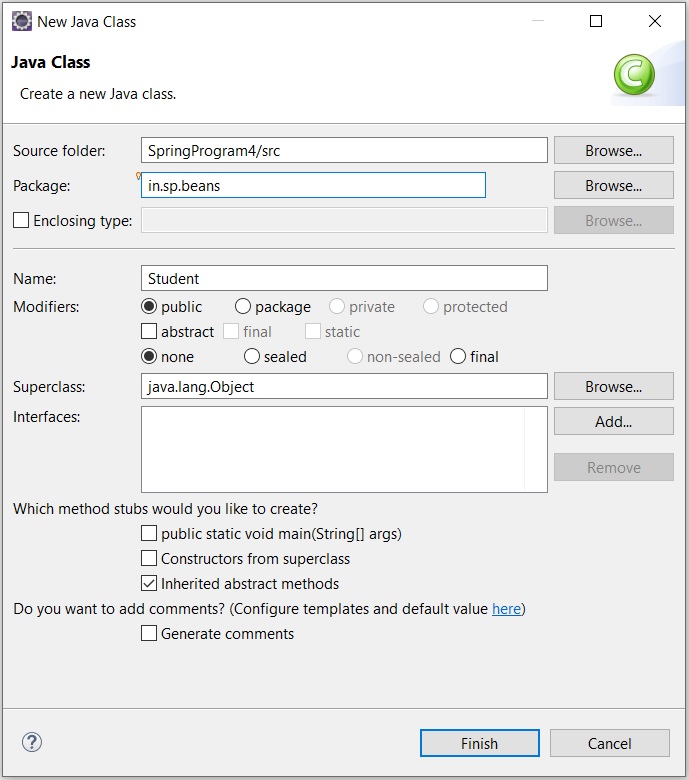
- Annotate the Student class with @Component Annotation and properties with @Value annotation, below is the full code.
-
Student.java
package in.sp.beans; import org.springframework.beans.factory.annotation.Value; import org.springframework.stereotype.Component; @Component public class Student { @Value("Deepak") private String name; @Value("104") private int rollno; @Value("deepak@gmail.com") private String emailid; public String getName() { return name; } public void setName(String name) { this.name = name; } public int getRollno() { return rollno; } public void setRollno(int rollno) { this.rollno = rollno; } public String getEmailid() { return emailid; } public void setEmailid(String emailid) { this.emailid = emailid; } public void display() { System.out.println("Name : "+name); System.out.println("Roll No : "+rollno); System.out.println("Email Id : "+emailid); } } - By using @Component annotation, Spring Container automatically creates the Bean Object.
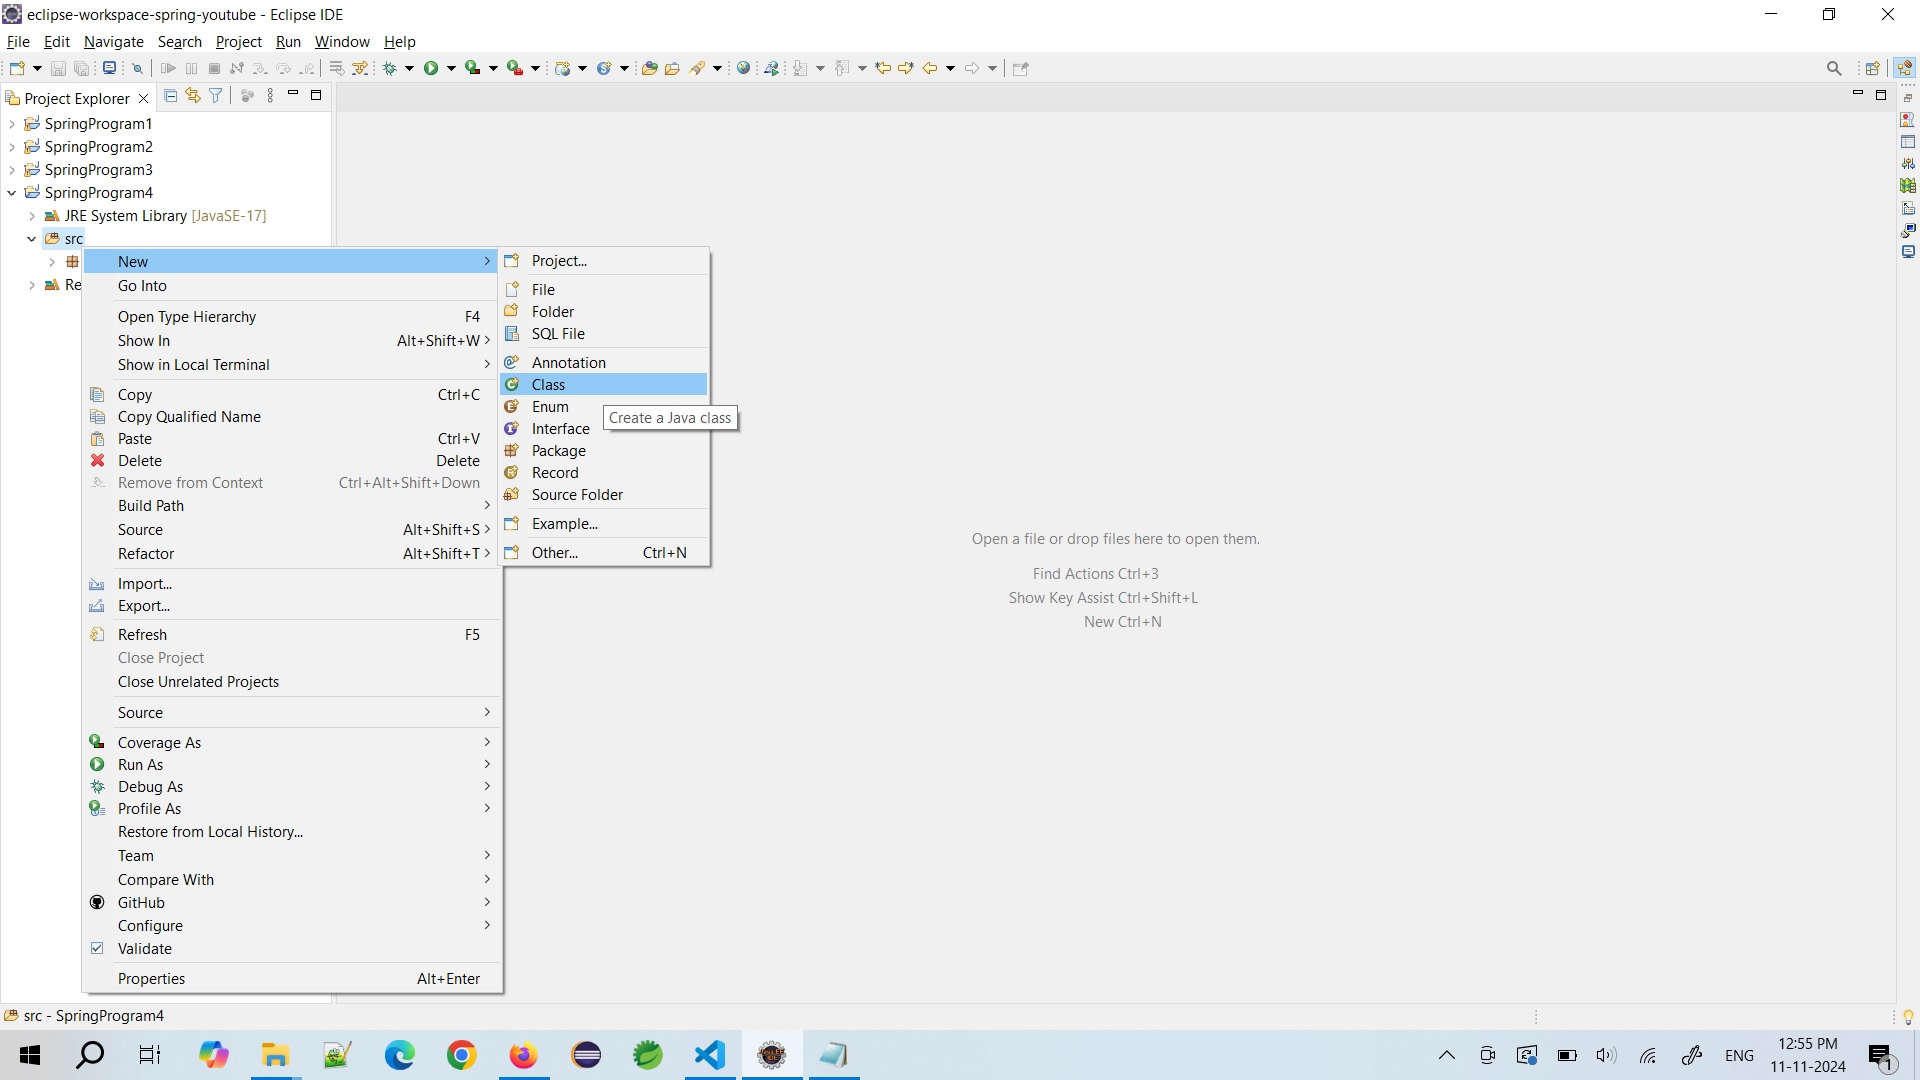
4. Create Main Class, annotate it with @Configuration & @ComponentScan AND then start the Container & Access the Beans
-
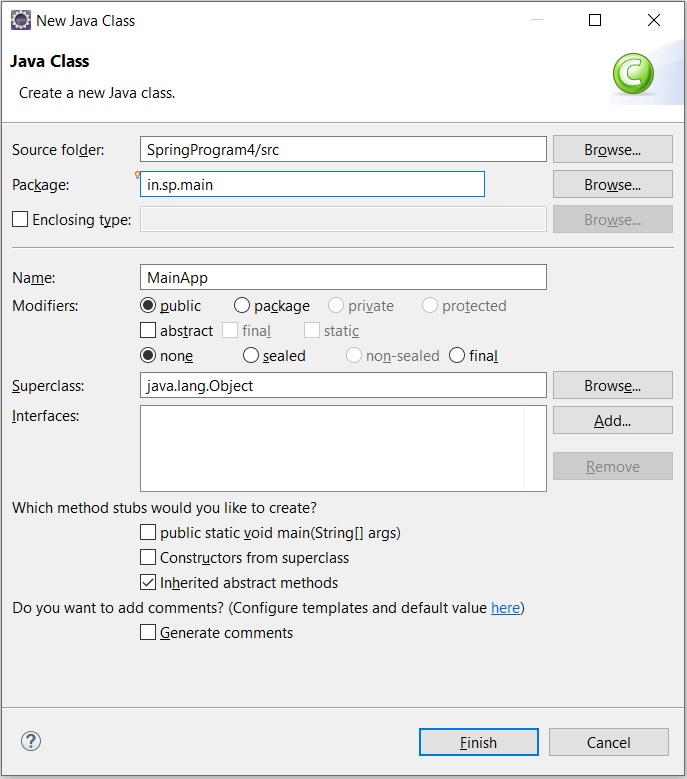
Right click on src folder and create new class i.e. MainApp in package name "in.sp.main".
-
- Annotate the main class i.e. MainApp class with @Configuration (indicating that the class i.e. AppConfig is configuration class alos) & ComponentScan (to tell Spring to scan for components i.e. POJO or JavaBean Classes in the specified package)
- Then create main method.
-
Next create Spring Container (We will use ApplicationContext as this is new Spring Container) and load the Spring Configuration File (Java file).
ApplicationContext context = new AnnotationConfigApplicationContext(AppConfig.class); - Access the Java Bean Object and call the method
-
Below is the full code :
MainApp.java
package in.sp.main; import org.springframework.context.ApplicationContext; import org.springframework.context.annotation.AnnotationConfigApplicationContext; import org.springframework.context.annotation.ComponentScan; import org.springframework.context.annotation.Configuration; import in.sp.beans.Student; @Configuration @ComponentScan(basePackages = "in.sp.beans") public class MainApp { public static void main(String[] args) { // Spring container is created with MainApp as configuration class ApplicationContext context = new AnnotationConfigApplicationContext(MainApp.class); // Bean object is requested from Spring Container and stored in Student reference Student std = context.getBean(Student.class); std.display(); } } -
Now right click on the project or MainApp.java class and run the program.
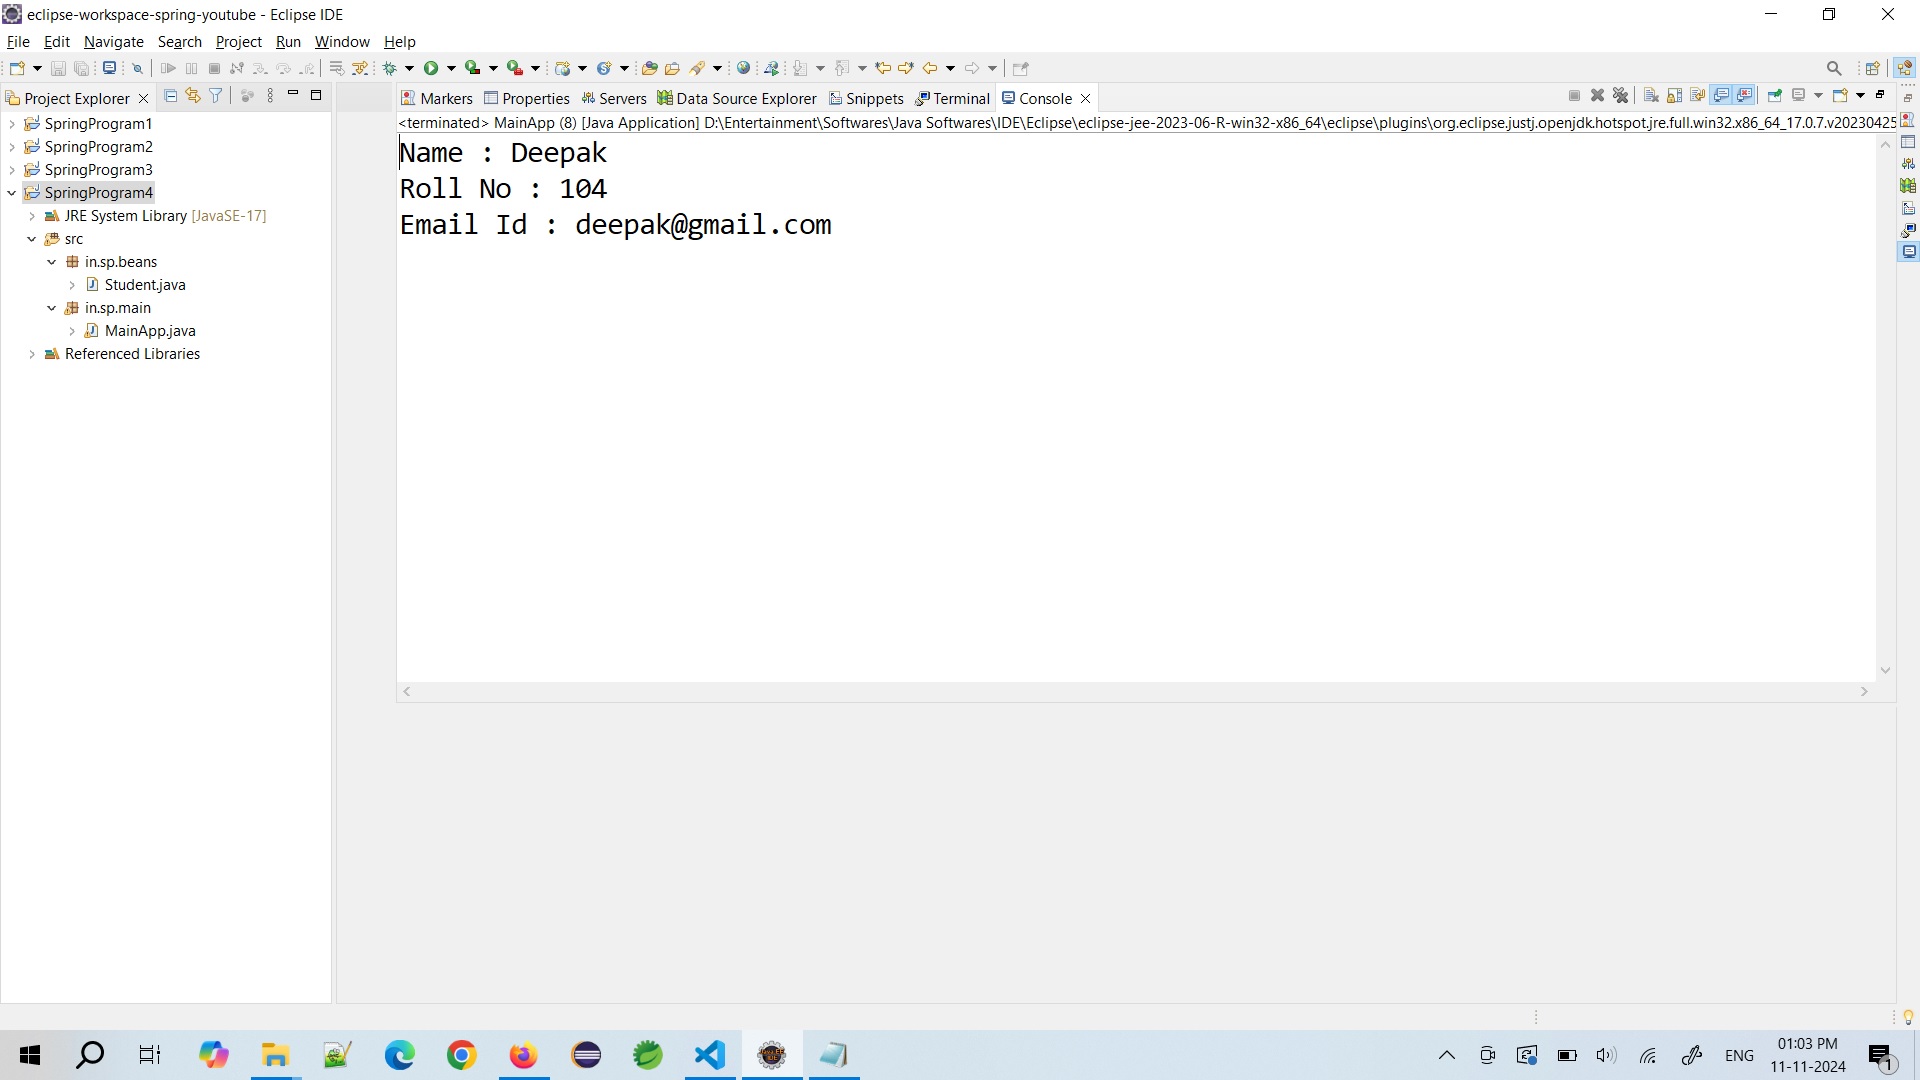
- Hurrey, we got the output...!!
- In Spring applications, it’s possible to use the main class (e.g., MainApp.java) as the configuration class by adding the @Configuration and @ComponentScan annotations.
- This approach allows us to remove the need for a separate configuration file (like AppConfig.java) and keeps the setup simple when there are only a few configuration requirements.
- However, if the application has extensive configuration needs—such as multiple beans, database configurations, or complex property setups—it’s generally better to keep configurations in separate classes.
- Doing so maintains modularity, makes the code more organized, and keeps configurations easier to manage as the application scales.
Help Us Get Better Every Day
Your feedback helps us grow! If there's anything we can fix or improve, please let us know.
We’re here to make our tutorials better based on your thoughts and suggestions.
Get Upto 80% off on our
Industry Level Courses